


Step 1: Locate Your Server Directory
- Navigate to your FiveM server resources folder (Example:
C:\FiveMServer\resources\).

Step 2: Copy & Paste the MLO Files
- Extract the MLO .zip file.
- Move the MLO folder into
resources\(e.g.,C:\FiveMServer\resources\mlo-map\).

- Ensure the folder contains:
/mlo-map/
├── stream/

├── __resource.lua OR fxmanifest.lua
Step 3: Add the MLO to Your Server.cfg
- Open
server.cfgin Notepad or a text editor. - Add:
ensure mlo-map
- Save the file.
Step 4: Restart Your FiveM Server
- Run
FXServer.exeand check if the MLO loads properly.
Step 1: Access Your Game Panel
- Log in to your FiveM hosting provider ( Zap-Hosting,vibe games, etc.).
- Navigate to File Manager > resources/.
Step 2: Upload the MLO Files
- Click Upload and add the extracted MLO folder (
mlo-map).
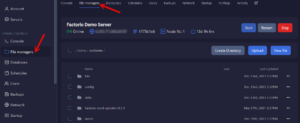
- Ensure it is inside
/resources/.
Step 3: Enable the MLO in Server.cfg
- Find
server.cfgin your panel’s file manager.
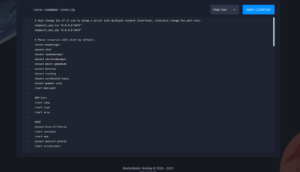
- Add:
ensure mlo-map - Save and close.
Step 4: Restart Your Server
- Go to Console and click Restart Server.

- Check in-game if the map has loaded.
)